
Vanilla-infused Strawberry Jam
Easy to make strawberry jam with a hint of vanilla flavour. I make my jam once a year in may when the super sweet and delicious Calinda strawberries are in season but this jam can be made with any variety of sweet strawberries.

Prep Time
20 mins
Cook Time
10 mins
Servings
2
Difficulty
Beginner
Ingredients
Main Ingredients
- 500 Gram Jam sugar
- 800 Gram Strawberries
- 1 Teaspoon Vanilla paste (Can be exchanged for vanilla sugar or essence)
- 0.5 Teaspoon Vanilla sugar
Instructions
Wash your jam jars thoroughly with warm water and dish soap. Place the clean jars in the oven and set the temperature to 150°C (300°F). Once the oven reaches the correct temperature, leave the jars inside for at least 15 minutes to sterilize them. Wash the rubber seals or rings by hand separately — do not put them in the oven, as they can melt.
Rinse and hull the strawberries. Cut them into smaller pieces — quarters for a chunkier jam, or smaller if you prefer a smoother texture.
Place the strawberries in a saucepan and pour the jam sugar over them. Add the vanilla paste and/or vanilla sugar.
Place the saucepan on the stove and bring the strawberry and sugar mixture to a boil, stirring continuously. Once the mixture begins to boil, let it boil for 10 minutes. Be careful not to use too high a heat, as the jam can burn on the bottom. Use a spoon to skim off any foam that forms on the surface and discard it into a separate bowl.
After 10 minutes, remove the pan from the heat. If you'd like, you can test the consistency by placing a small spoonful of jam on a cold plate. Let it cool for a few seconds, then check if the texture is to your liking. If it's not thick enough, return the pan to the stove, bring it to a boil again, and let it cook for a couple more minutes. Remember, the jam will thicken further as it cools in the fridge.
Once you're happy with the consistency of your jam, remove the jars from the oven and check the temperature of both the jars and the jam. If they are about the same temperature, you can begin spooning the jam into the jars. If there's too large a temperature difference, the jars might crack. If the jars are hotter than the jam, place a lid on the jam and wait a few minutes for the jars to cool down. Check the temperature again before proceeding.
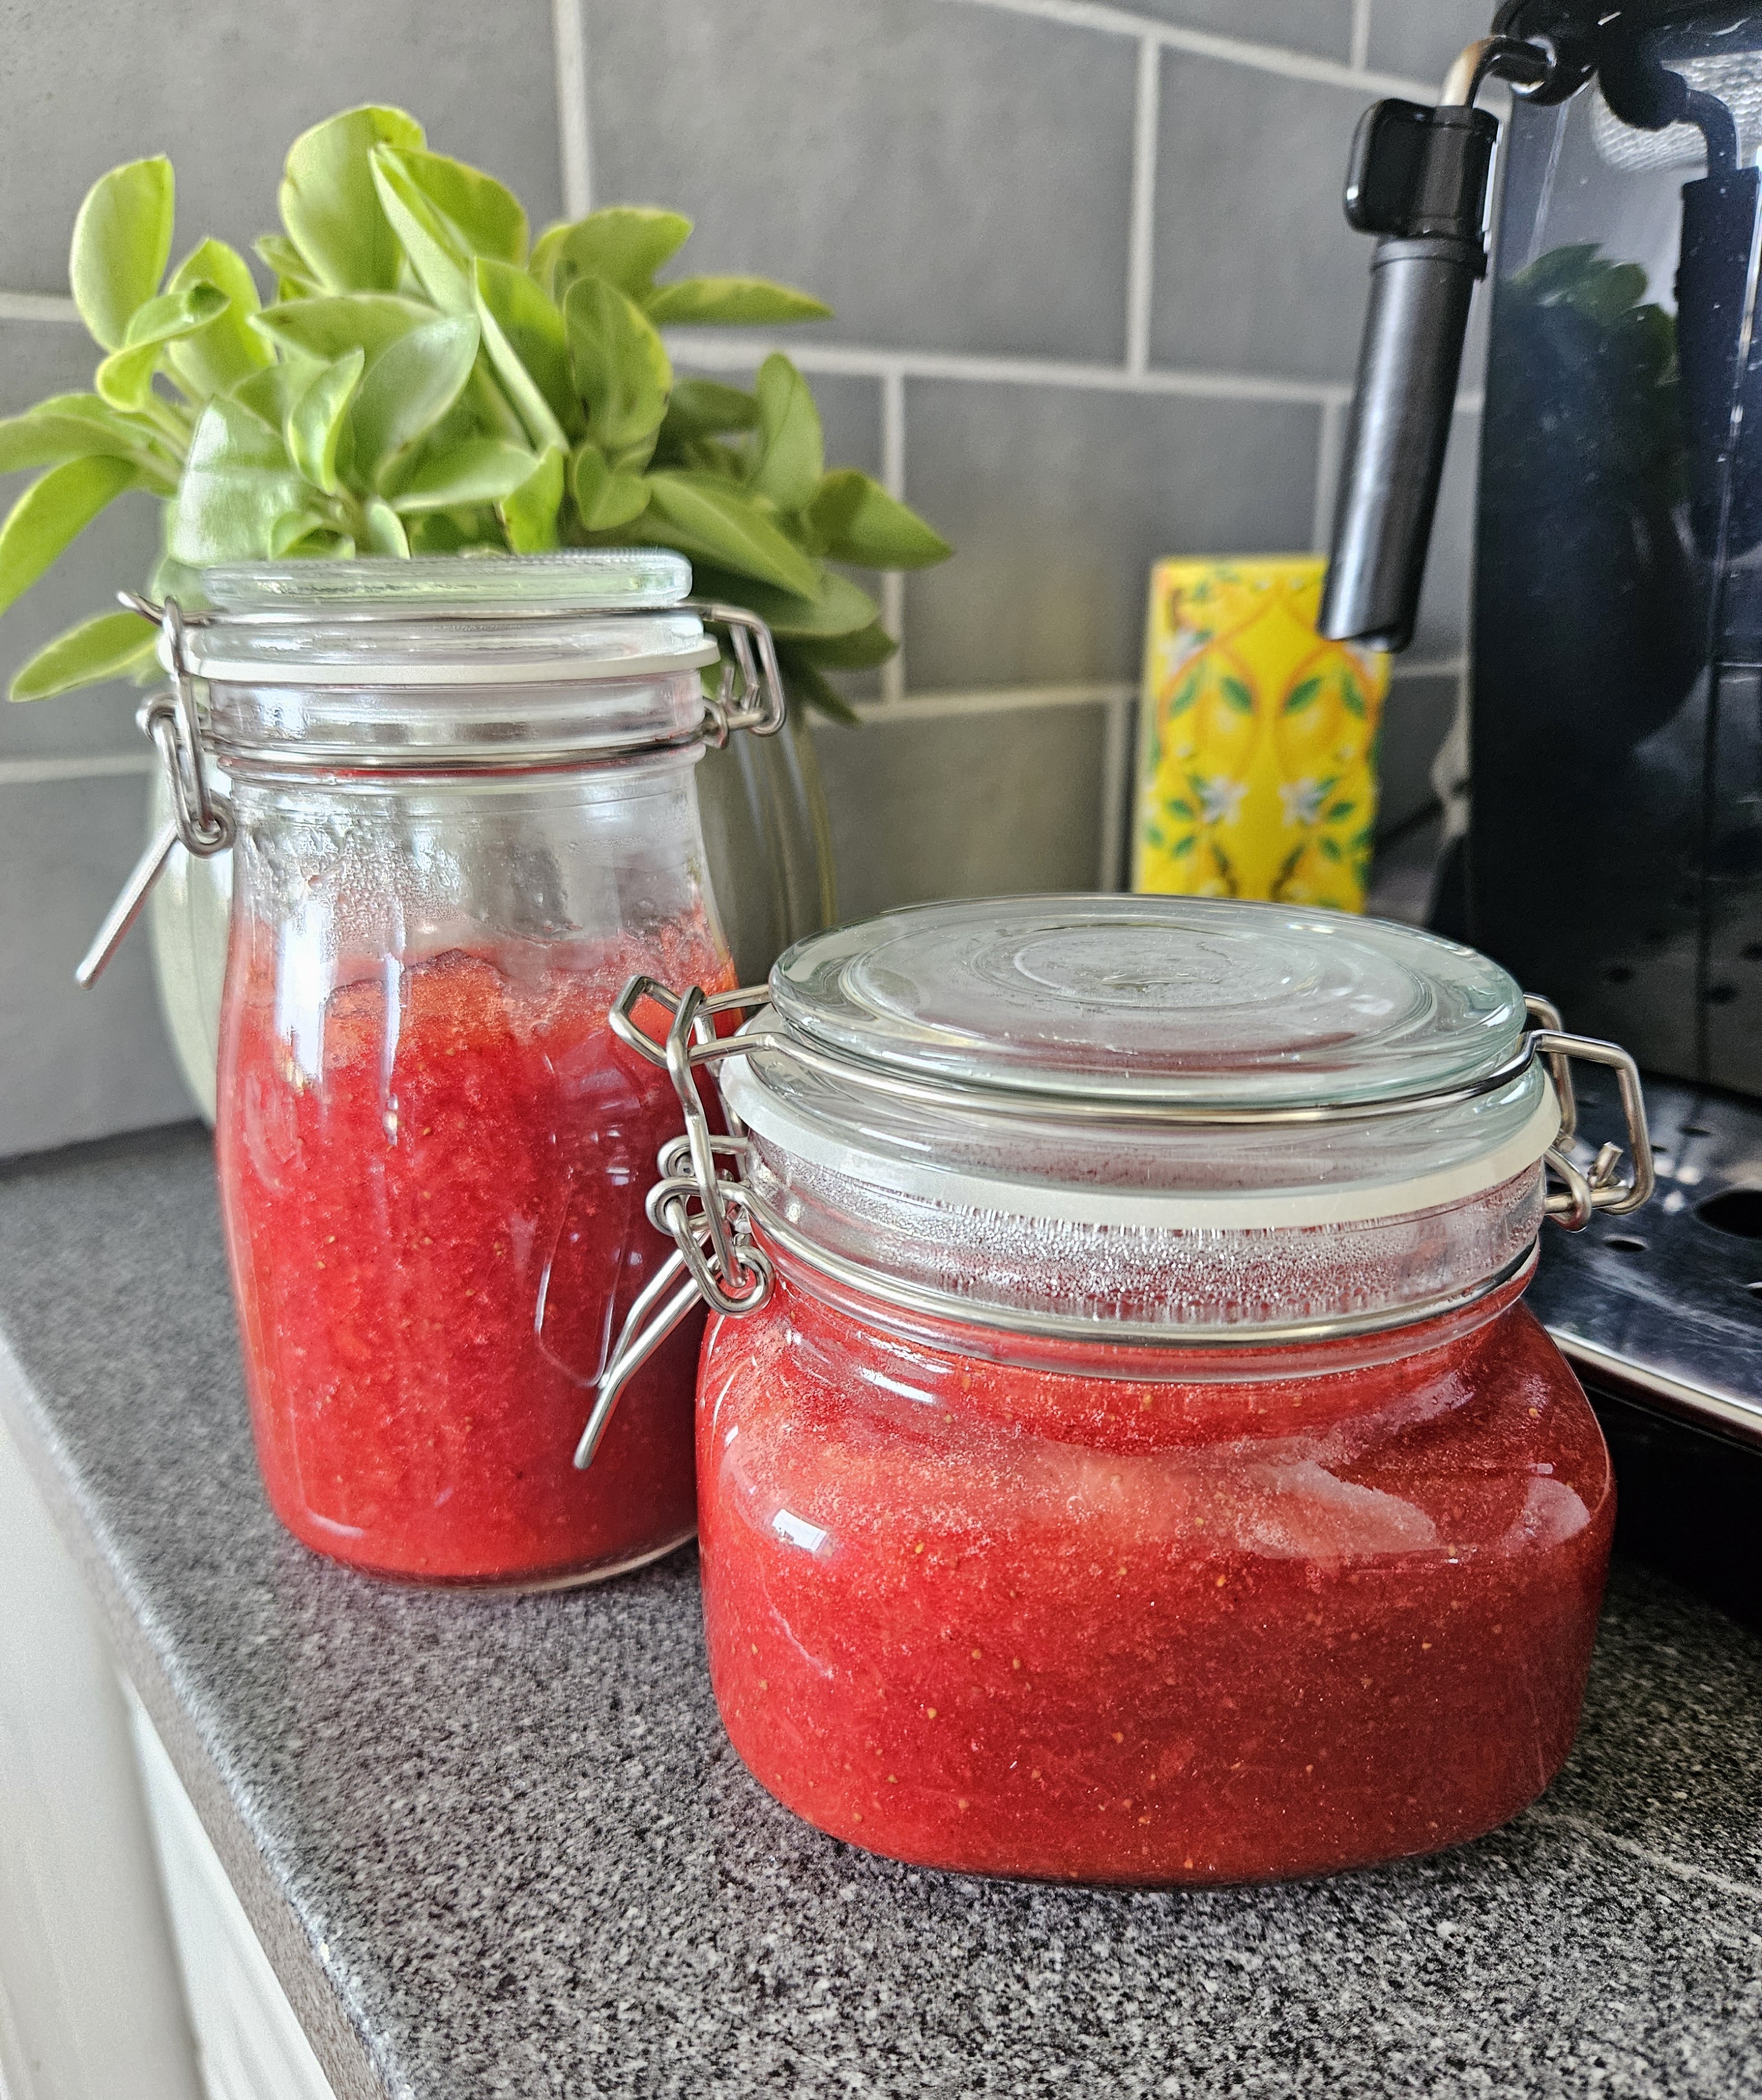
Add the rubber seal or ring to the lid, then close the jar. Let it cool on the counter for a bit, and there you have it — your very own strawberry jam. My jam usually lasts for about a year in the fridge, and I’ve never had any issues with mold. Just be sure not to touch the inside of the jars once they’ve been sanitized. Wash your hands thoroughly before adding the rubber seal/ring, and you’ll be good to go.
Comments (0)
No comments yet. Be the first to share your thoughts!